Hacking the Kobo Clara HD – 3: Gaining root telnet access
Last time, we dipped our toes into the waters of the Kobo Clara HD's USB interface. As it turns out, there is a lot more we can do with this simple interface. The Clara HD runs Linux, and we can easily gain root telnet access to the device over WiFi.
The firmware upgrade process
In order to do so, we will leverage the Clara HD's firmware upgrade process. The upgrade process works by downloading a firmware upgrade to .kobo/KoboRoot.tgz in the internal storage. Upon a reboot, if this file exists, it will be extracted over the root filesystem, replacing existing files with replacements from the tgz file.
Obtaining the OEM firmware
We need, then, to obtain a copy of the firmware to start with. If you imaged the internal microSD card as in part 1, you may be able to simply mount and access the image. The easier way, however, is to download the firmware patch directly from Kobo.
On the Clara HD, select Settings from the menu, then Device information and note the Software version, then download the corresponding firmware patch from the above link. The Clara HD is a Mark 7 device, so choose that link.
(It may also be possible to obtain a firmware patch by performing a factory reset, as outlined on MobileRead.com)
After obtaining the relevant zip file, open it to obtain the KoboRoot.tgz file. Extract this tgz file somewhere safe. I'll suppose it's extracted to $KOBOROOT.
Bootstrapping: Obtaining /etc/inittab
/etc/inittab is the main file that we will be patching to introduce our custom code. However, in previous versions of the Kobo firmware, this file was not present, and so needed to be extracted from the device.
Check $KOBOROOT to see if the etc/inittab file is present. If it is, skip to ‘Enabling telnet’. Otherwise, continue with this section.
The $KOBOROOT/etc/init.d/rcS file contains commands that are run every time the Clara HD boots (and is in fact responsible for launching the main Kobo ‘Nickel’ interface), so we will edit this file to add a line:
/usr/local/Kobo/hindenburg &
cp /etc/inittab /mnt/onboard # add this line
LIBC_FATAL_STDERR_=1 /usr/local/Kobo/nickel -platform kobo -skipFontLoad &
[ $PLATFORM != freescale ] && rm -rf /dev/mmcblk1* && udevadm trigger &
insmod /drivers/$PLATFORM/misc/lowmem.ko &
(Warning: Be careful when editing the rcS file. As this is responsible for starting the main interface, an error in this script may brick your device and require you to manually reimage the microSD card.)
This will cause the device to copy the inittab to the internal storage accessible over USB (mounted on the Clara HD at /mnt/onboard).
We can create a custom KoboRoot.tgz file by running in a command prompt, from $KOBOROOT:
tar czf KoboRoot.tgz etc/init.d/rcS
Now connect the Clara HD to the computer, and copy this new KoboRoot.tgz file to the .kobo folder on the Clara HD.
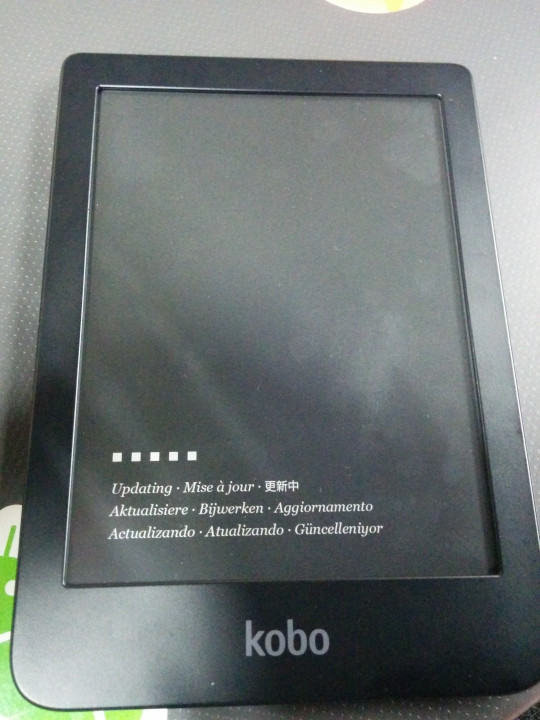
Eject the Clara HD and remove the USB cable, and after a moment, the Clara HD will automatically reboot and show the Updating screen. Kobo is now overwriting the /etc/init.d/rcS file with our custom version.
If all goes well, the Clara HD should reboot into the main interface. Connect the Clara HD to the computer again, and an inittab file should now be visible. Copy this file to $KOBOROOT/etc/inittab.
We should now return to $KOBOROOT/etc/init.d/rcS and remove the line we added earlier.
Example /etc/inittab
If for whatever reason you are unable to source your own copy, this is the /etc/inittab file from my Clara HD. Use at your own risk!
# This is run first except when booting in single-user mode.
::sysinit:/etc/init.d/rcS
::respawn:/sbin/getty -L ttymxc0 115200 vt100
::ctrlaltdel:/sbin/reboot
::shutdown:/bin/umount -a -r
::restart:/sbin/init
Enabling telnet
Now we are ready to enable telnet. At the end of $KOBOROOT/etc/inittab, add the following two lines:
::sysinit:/bin/sh /opt/afterinit.sh
::respawn:/usr/sbin/inetd -f /opt/inetd.conf
(Warning: At the time of writing, MobileRead.com suggests using respawn for the first line. This is wrong and will cause the script to loop infinitely!)
The first line will cause the Clara HD to execute the /opt/afterinit.sh file after booting. The second line will cause the Clara HD to start the inetd daemon, which we will shortly configure to run telnet.
The /opt directory does not exist by default on the Kobo, so this is a convenient location to store our custom files where they will not be overwritten by firmware updates. (If /etc/inittab is not present in firmware updates, this also means our changes will persist across updates.)
Create the $KOBOROOT/opt directory, then create $KOBOROOT/opt/afterinit.sh with the following contents:
mkdir -p /dev/pts
mount -t devpts devpts /dev/pts
This will enable the use of pseudoterminals, required for telnet.
Now copy $KOBOROOT/etc/inetd.conf to $KOBOROOT/opt/inetd.conf and add the following line:
23 stream tcp nowait root /bin/busybox telnetd -i
This will tell inetd to start the telnet server.
Now generate a new KoboRoot.tgz with these patches by running:
tar czf KoboRoot.tgz etc/init.d/rcS etc/inittab opt
Repeat the earlier process to flash this new KoboRoot.tgz.
Connecting to telnet
If all goes well, once the Clara HD reboots, you should now be able to telnet into the Clara HD. On the Clara HD, select Settings from the menu, then Device information, and note the IP address. For example, 192.168.0.3.
On your computer, connected to the same WiFi network, run e.g.:
telnet 192.168.0.3
Hopefully, you will be granted with something like:
Trying 192.168.0.3...
Connected to 192.168.0.3.
Escape character is '^]'.

(none) login:
Log in as root. No password should be required.
(none) login: root
[root@(none) ~]# uname -a
Linux (none) 4.1.15-00075-gf2498a4 #26 SMP PREEMPT Tue Apr 17 15:45:49 CST 2018 armv7l GNU/Linux
[root@(none) ~]#
Tada!
Securing logins
Running an unsecured telnet server on a device with root access with no password required is a terrible idea, so until we better secure the network, you may like to change the root password. Simply run passwd and set a new password.
Note that (at least on my device), there was a separate admin account with password admin. Because the home directory for this account was invalid, logging in with these credentials also dropped you to a root shell. The password for this account can be changed by running passwd admin and also setting a new password.