Hacking the Kobo Clara HD – 2: Bypassing registration/sign in
Last time, we imaged the internal storage of the Kobo Clara HD (and possibly expanded the internal storage capacity). Now we can begin setting up the device. We soon find, however, that the Clara HD requires us to log in with a Kobo account. Now I don't have a problem with Kobo – I have an account, and in fact I buy most of my ebooks from Kobo – but I manage my ebooks offline, and I'm ideologically opposed to being required to link an account to what is, essentially, a glorified browser. Thankfully, the registration process is easily bypassed.
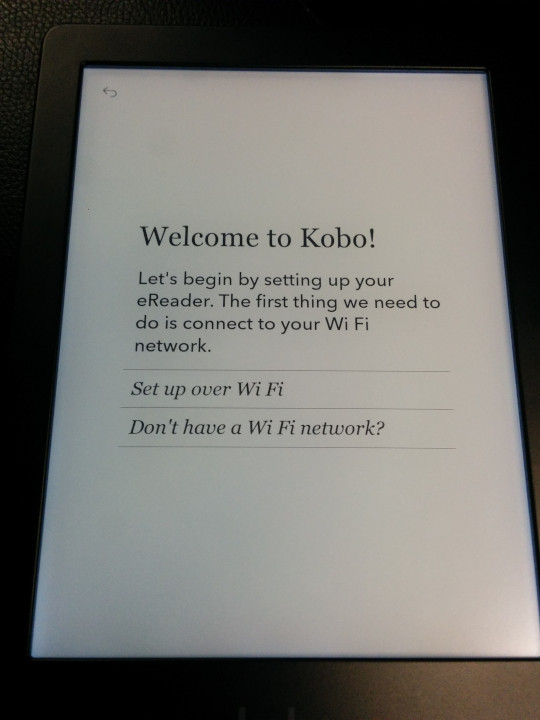
Upon reaching the ‘Welcome to Kobo!’ screen, do not connect to WiFi, and instead choose ‘Don't have a WiFi network?’

Connect the Clara HD to a computer as directed, but instead of downloading the Kobo app, instead open the Clara HD internal storage on the computer, which should have become available as a USB device.
Navigate to the (possibly hidden by default) .kobo directory, where there should be a KoboReader.sqlite file. This is an SQLite database, and we will need to install the SQLite tools to access it (e.g. Windows – look for the sqlite-tools-win32 download).
Once SQLite is installed, open a command prompt in this directory and run:
sqlite3 KoboReader.sqlite
From the SQLite prompt, run:
INSERT INTO user(UserID,UserKey) VALUES('1','');
And then exit SQLite. Then eject the Clara HD internal storage from the computer, and disconnect it. The Clara HD should continue as if it were successfully registered!
Using this method enables all functionality of the Clara HD, including the beta web browser, and firmware updates. To check for updates, connect to WiFi, then tap the sync icon in the top right corner of the screen and tap ‘Sync now’. The sync will fail, but the device should still check for firmware updates, and if one is found, direct you to install it.